A cracked tooth can make every sip of coffee or bite of lunch feel uncertain. This dental crown procedure guide walks you through what happens before, during, and after treatment, so you can arrive knowing what to expect and why each step protects your smile.
What a Dental Crown Does
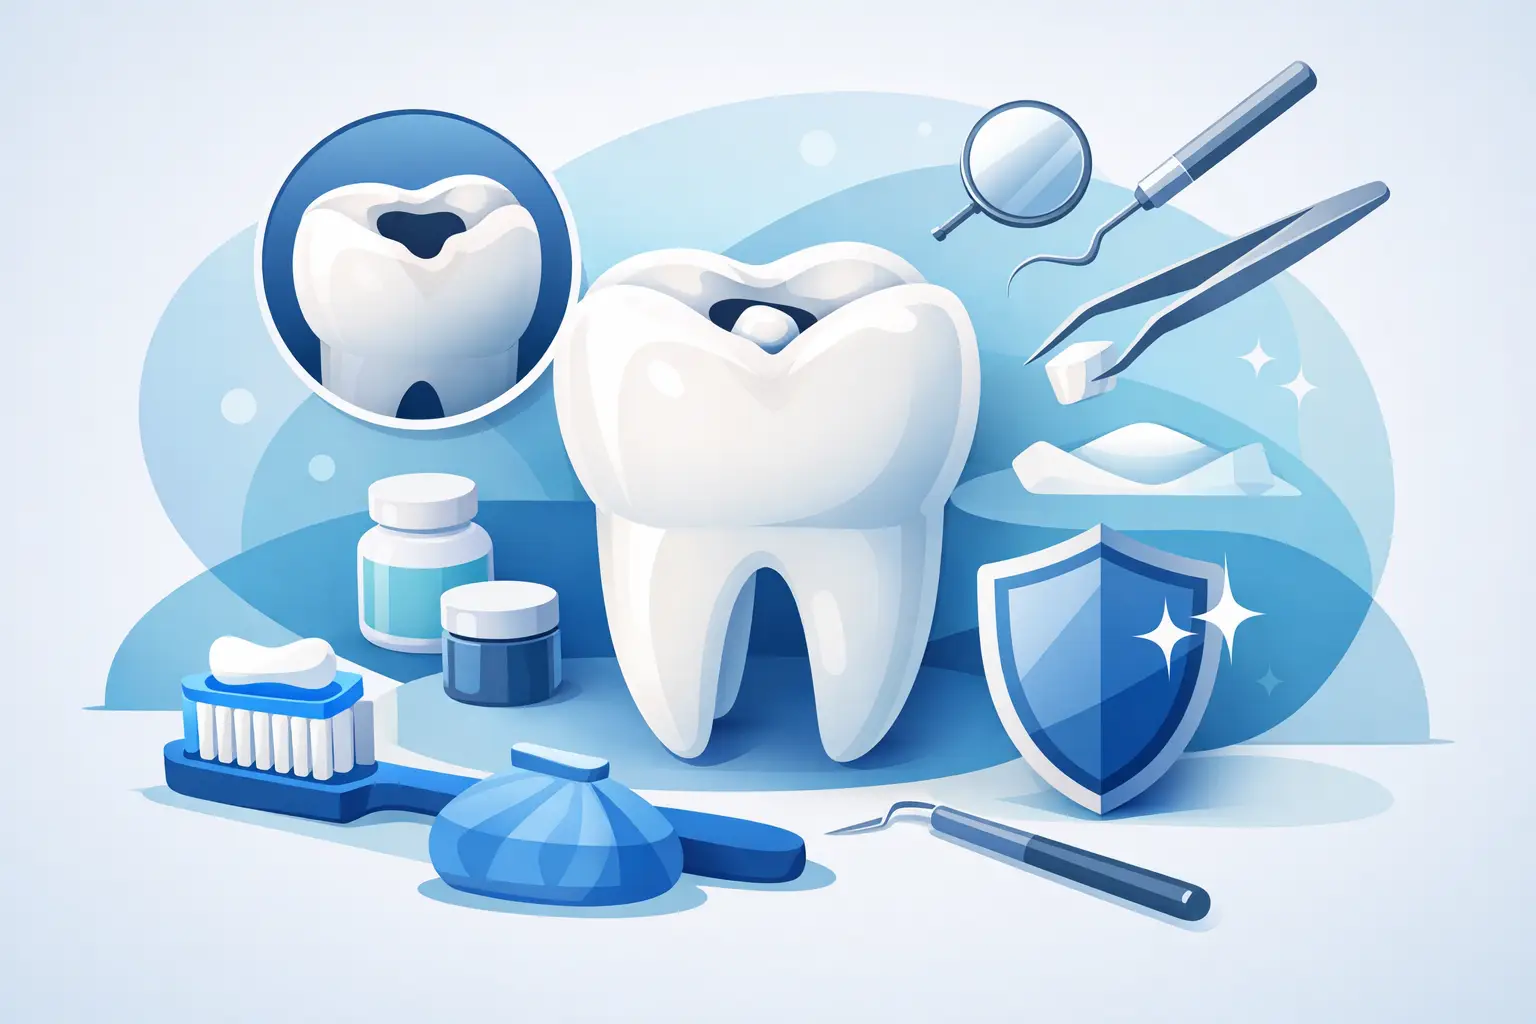
A dental crown is a custom-made covering that fits over the visible portion of a damaged or weakened tooth. It restores the tooth’s shape, strength, and appearance while helping it handle normal chewing forces. Crowns are commonly recommended when a tooth has a large filling, deep decay, a fracture, significant wear, or has been treated with a root canal.
A crown is not always the first choice. If decay is small or a chip is minor, a filling or bonding may preserve more natural tooth structure. When the tooth is too compromised for those options to last, however, a crown can be the more protective and predictable solution. Your dentist will review the condition of the tooth, your bite, and your goals before recommending treatment.
Your Dental Crown Procedure Guide, Step by Step
1. Examination and treatment planning
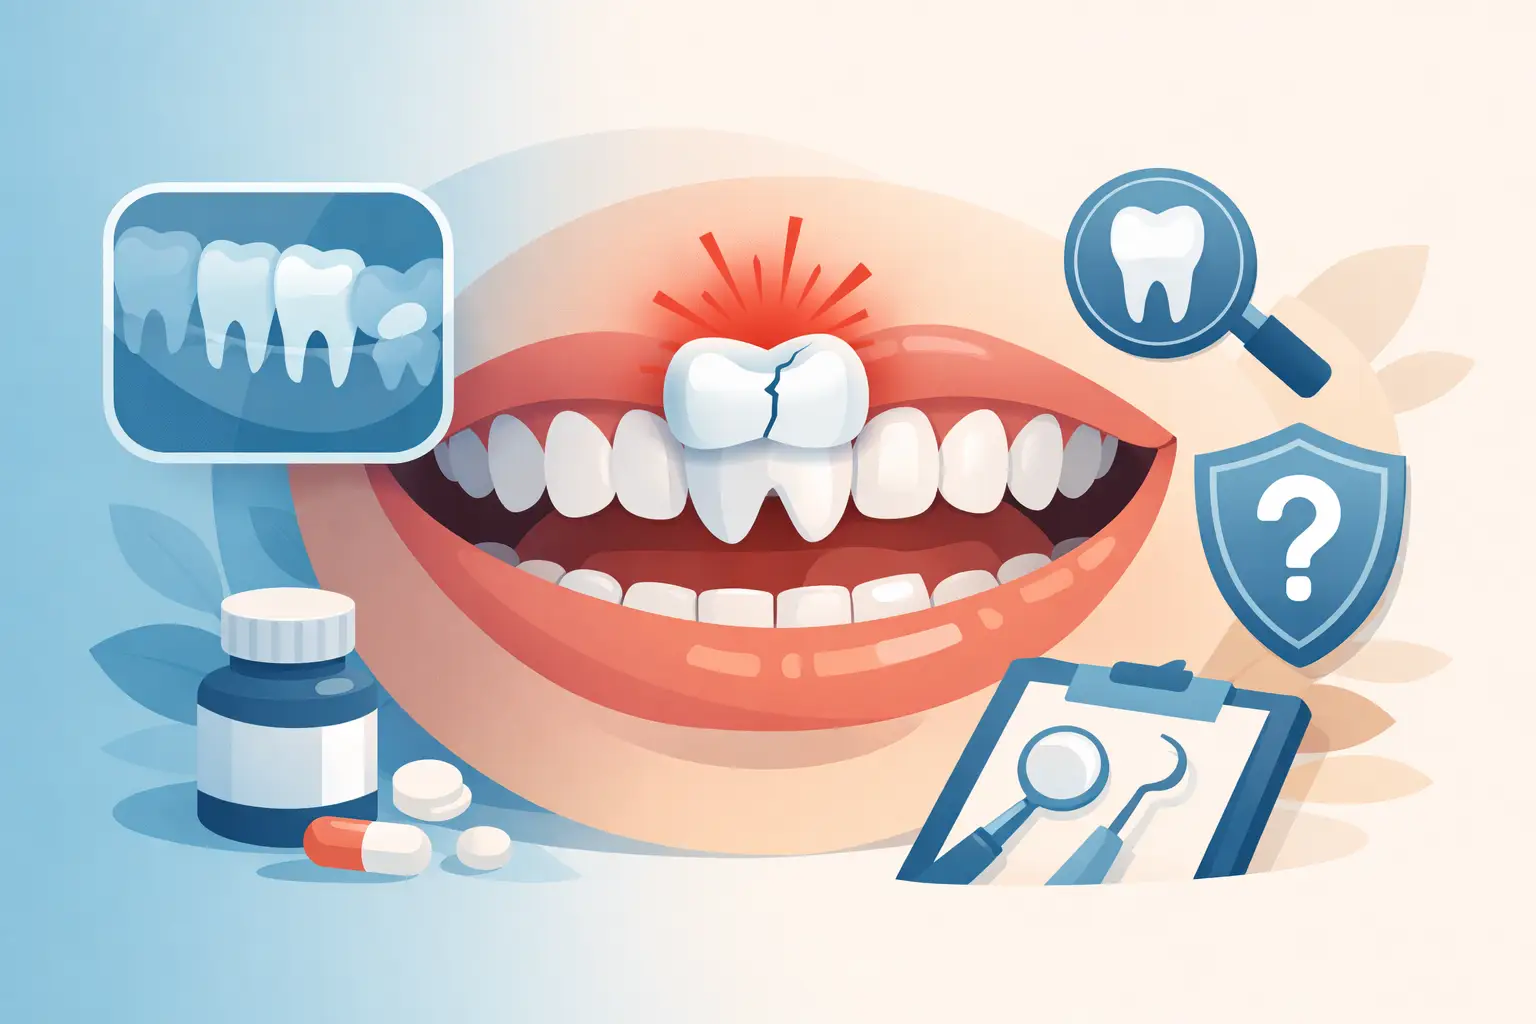
The first visit begins with a careful exam and usually X-rays to look beneath the surface of the tooth and around its roots. Your dentist checks for decay, cracks, infection, gum health concerns, and whether enough healthy tooth structure remains to support a crown.
This is also the right time to discuss crown material. Porcelain and ceramic crowns are popular for front teeth because they can be color-matched to surrounding enamel. Zirconia is known for strength and is often a good choice for back teeth. Some situations call for other materials, depending on where the tooth is located, how strongly you bite, and your cosmetic preferences.
If a tooth has an active infection or needs root canal treatment, that issue is typically addressed before the permanent crown is placed. Treating the underlying problem first helps give the restoration a healthier foundation.
2. Numbing and preparing the tooth
At the crown preparation appointment, the area is numbed with local anesthetic. You should not feel pain during treatment, although you may notice pressure, vibration, and water from the dental instruments. If dental anxiety has kept you from getting needed care, tell your dental team before treatment begins. Small comfort measures, clear communication, and appropriate sedation options can make a meaningful difference.
Once you are comfortable, the dentist gently reshapes the tooth to create room for the crown. The amount removed depends on the type of crown and the tooth’s existing condition. If a large portion of the tooth is missing, the dentist may rebuild it with a filling material called a core before preparing it. This gives the crown a stable surface to hold onto.
3. Digital scan or impression
After preparation, your dentist records the shape of the tooth and the teeth around it. Many modern offices use a digital scanner instead of traditional impression material. The scan helps create a crown that fits closely at the gumline and meets your opposing teeth comfortably when you bite.
Your dentist also selects a shade when the crown will be visible in your smile. The goal is not simply a bright tooth. It is a natural-looking result that blends with the color, translucency, and character of nearby teeth.
4. The temporary crown
In many cases, a dental laboratory makes the permanent crown, which means you will leave the first appointment with a temporary crown. It protects the prepared tooth while the final restoration is being created. Temporary crowns are cemented with a material designed for short-term use, so they need a little extra care.
Avoid sticky foods such as caramel or gum, and try not to chew hard foods on that side of your mouth. Floss carefully by sliding the floss out through the side rather than pulling it straight up, which can loosen the temporary crown. If it comes off, keep it safe and call the office. Do not use household glue to put it back in place.
Some patients may be candidates for a same-day crown, depending on the tooth, the technology available, and the complexity of the case. Same-day treatment can be convenient, but it is not automatically the best approach for every tooth. Careful planning and a precise fit matter more than speed alone.
5. Placing the permanent crown
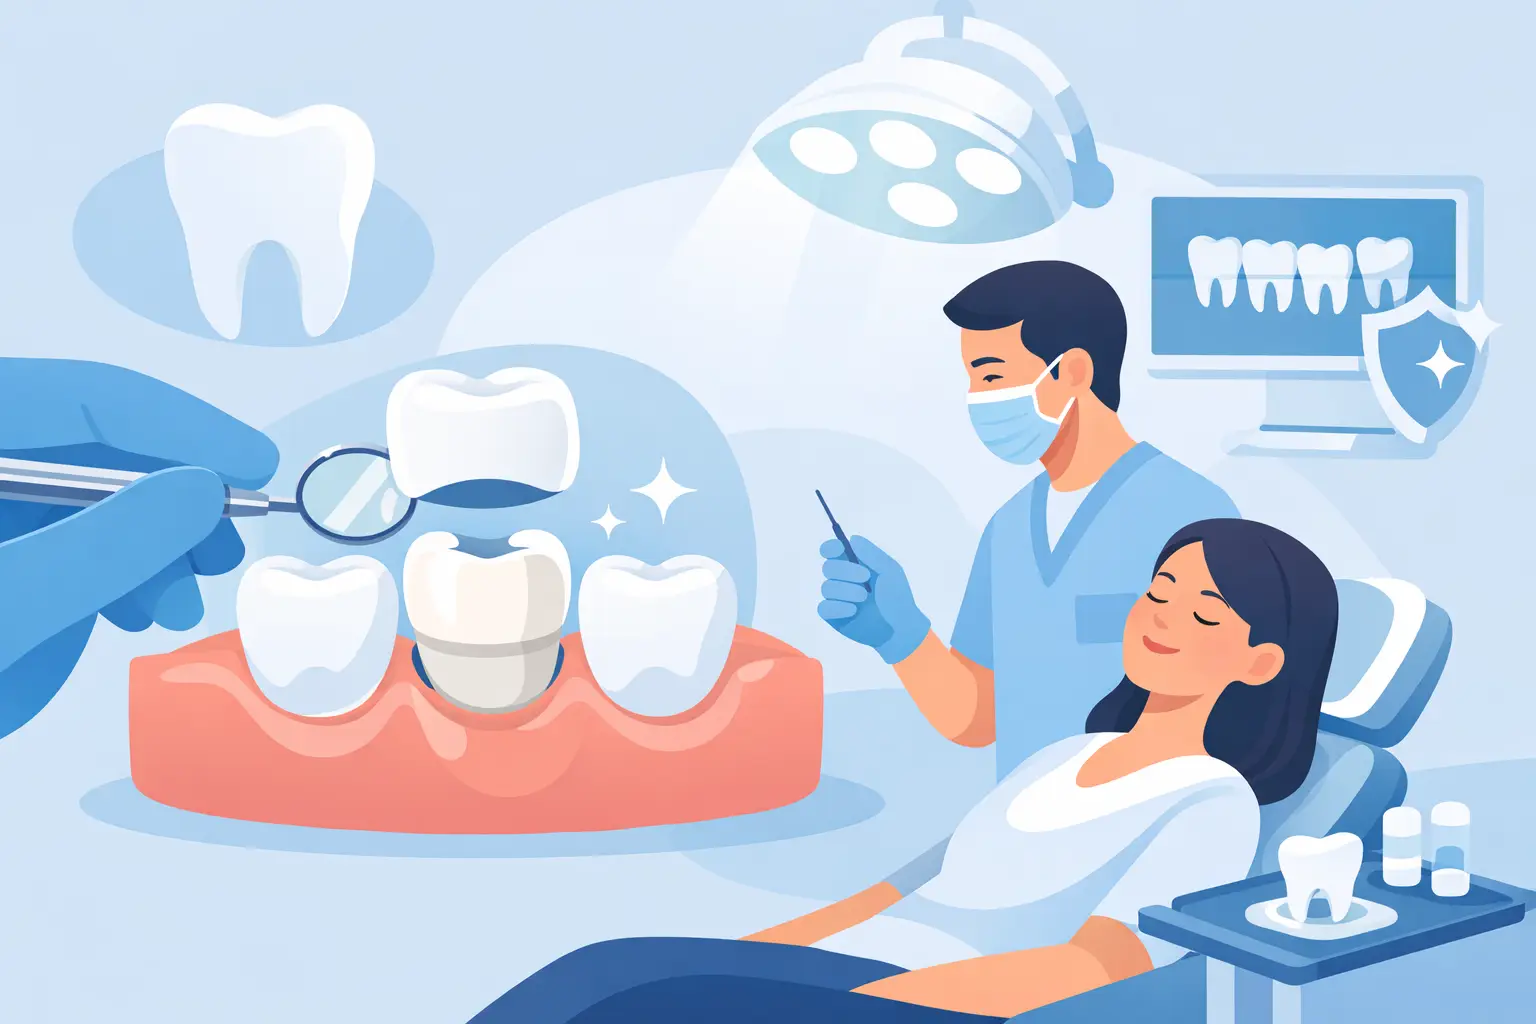
At the final appointment, the temporary crown is removed and the tooth is cleaned. Your dentist tries in the permanent crown to check its fit, color, contour, and bite. You may be asked to bite on thin marking paper so the dentist can make sure the crown is not hitting too high.
Once everything looks and feels right, the crown is permanently cemented. Most patients can return to normal activities immediately afterward. Your mouth may stay numb for a few hours, so wait until feeling returns before eating anything hot or chewing on that side.
What Recovery Feels Like
Mild gum tenderness or temperature sensitivity is common for a few days after crown preparation or placement. This usually improves as the gum tissue settles and the tooth adjusts. Over-the-counter pain medication may help if it is safe for you to take, but follow your dentist’s guidance and the product label.
A crown should feel like part of your natural bite, not like something you have to work around. Call your dentist if you feel sharp pain when biting, persistent sensitivity, a rough edge, pressure that does not improve, or a crown that feels loose. A bite that is slightly too high can often be adjusted quickly, and addressing it early can prevent unnecessary discomfort.
How Long Does a Dental Crown Last?
With good care, a crown can last many years. Its lifespan depends on the material, the health of the tooth underneath, your bite, and everyday habits. Grinding or clenching, chewing ice, opening packages with your teeth, and frequent hard candy can shorten the life of both natural teeth and restorations.
Brushing twice daily, cleaning between teeth every day, and keeping regular dental visits are essential. A crown cannot get a cavity, but the natural tooth at its edge can still develop decay. Healthy gums also help support the tooth and protect the crown’s margins.
If you grind your teeth at night, a custom night guard may help protect your crown as well as your other teeth. Mention jaw soreness, morning headaches, or worn teeth during your appointment, since these can be signs of clenching or grinding.
Cost, Insurance, and Planning Ahead
The cost of a crown varies based on the tooth involved, the material selected, whether additional treatment is needed, and your insurance benefits. A crown following a root canal, for example, may involve separate fees for the root canal, buildup, and crown. Your dental team should explain the proposed treatment and expected costs before care begins, including financing options if available.
Insurance may cover part of a crown when it is medically necessary, but plans differ in waiting periods, annual maximums, deductibles, and material allowances. Cosmetic preferences can also affect coverage. Asking for a written estimate gives you a clearer picture before scheduling treatment.
When a Crown May Need Prompt Attention
Do not wait for a routine visit if you have facial swelling, fever, severe throbbing pain, a broken tooth with a sharp edge, or a crown that has fallen off and leaves the tooth painful or exposed. These symptoms can signal an infection, fracture, or urgent restoration issue. Prompt care can often relieve discomfort and help preserve the tooth.
At Amor Dental Arts, patients receive clear explanations and personalized recommendations, whether they need a single crown or more comprehensive restorative care. The best next step is a conversation with a dentist who can examine the tooth, answer your questions without rushing, and help you feel confident about protecting your smile.